

Once upon a time, 4 girls came together to enter a contest for a chance of a lifetime to have their face play in an ad in Times Square and they WON. These photos are a documentary of our whirlwind weekend together to go see the ad play in person! Enjoy. :) PS – Scroll to the bottom to watch our Time Square Commercial!! …

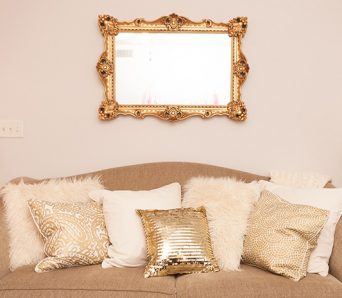
NEW BRANDING!!
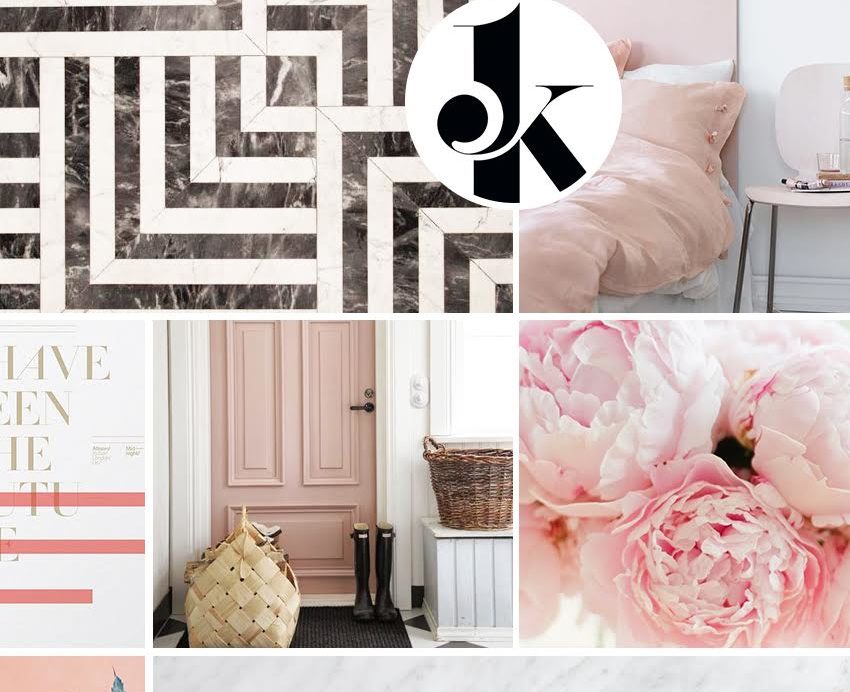
I had the pleasure of working with one of my dearest friends for my new branding! Lee Ann Woolbright and I worked together a few years ago at a local web company and I just instantly was a fan of her! Not only was she talented but she has such a fun personality! She’s bubbly, kind and hilarious! She also has the best laugh. Just talk to her for a…
8 Comments
My Paleo Patisserie by Jenni Hulet
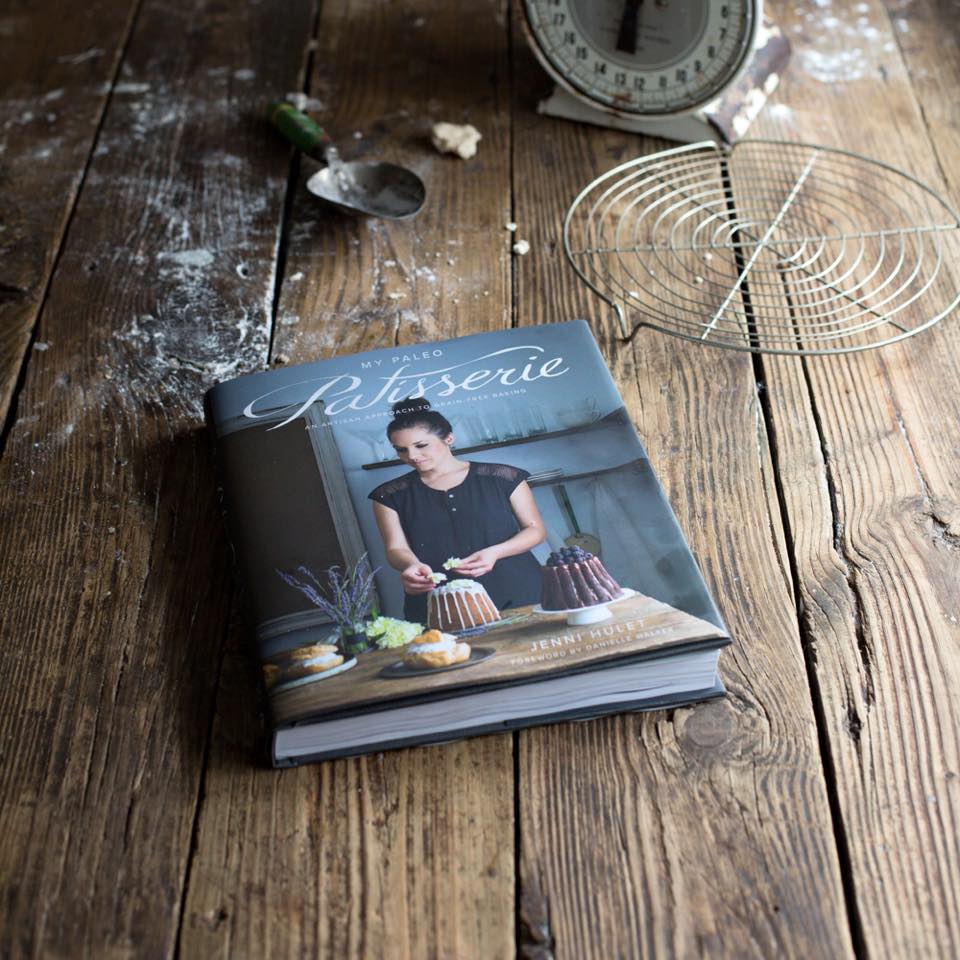
Last summer I had the privilege of doing a photo shoot with the AMAZING Jenni Hulet (from The Urban Poser) for the marshmallow chapter in her new paleo cookbook, My Paleo Patisserie. Jenni is an amazing cook/baker/creative, and as if that's not enough, she's also an amazing wife and mother!…
62 Comments
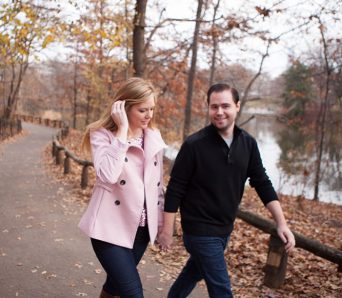
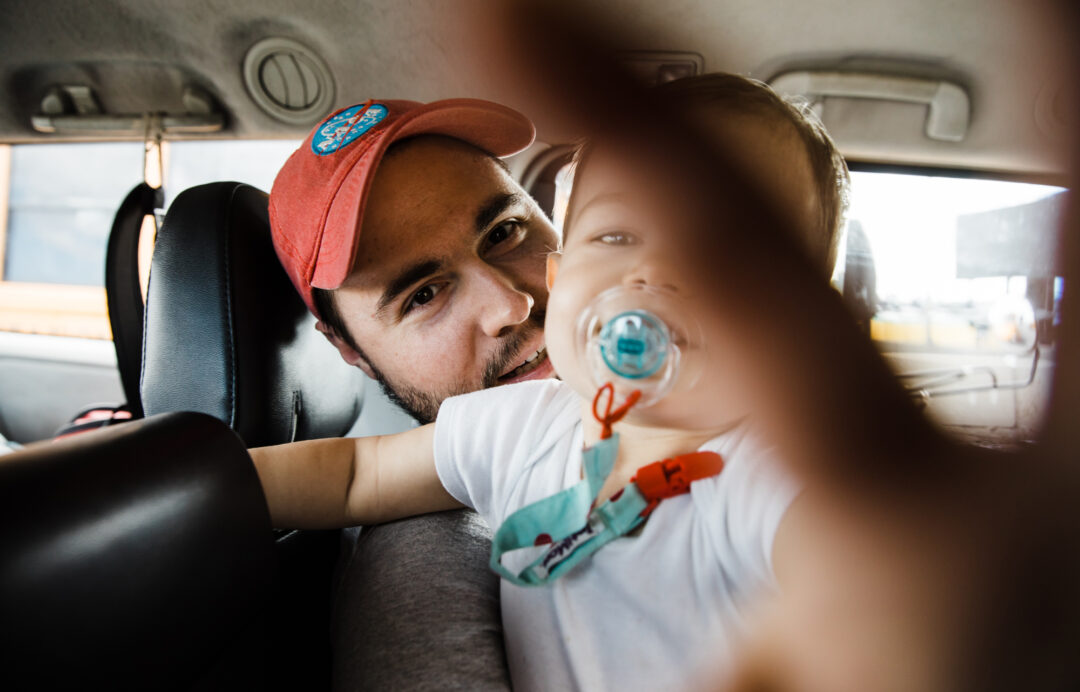
NYC Photoshoot
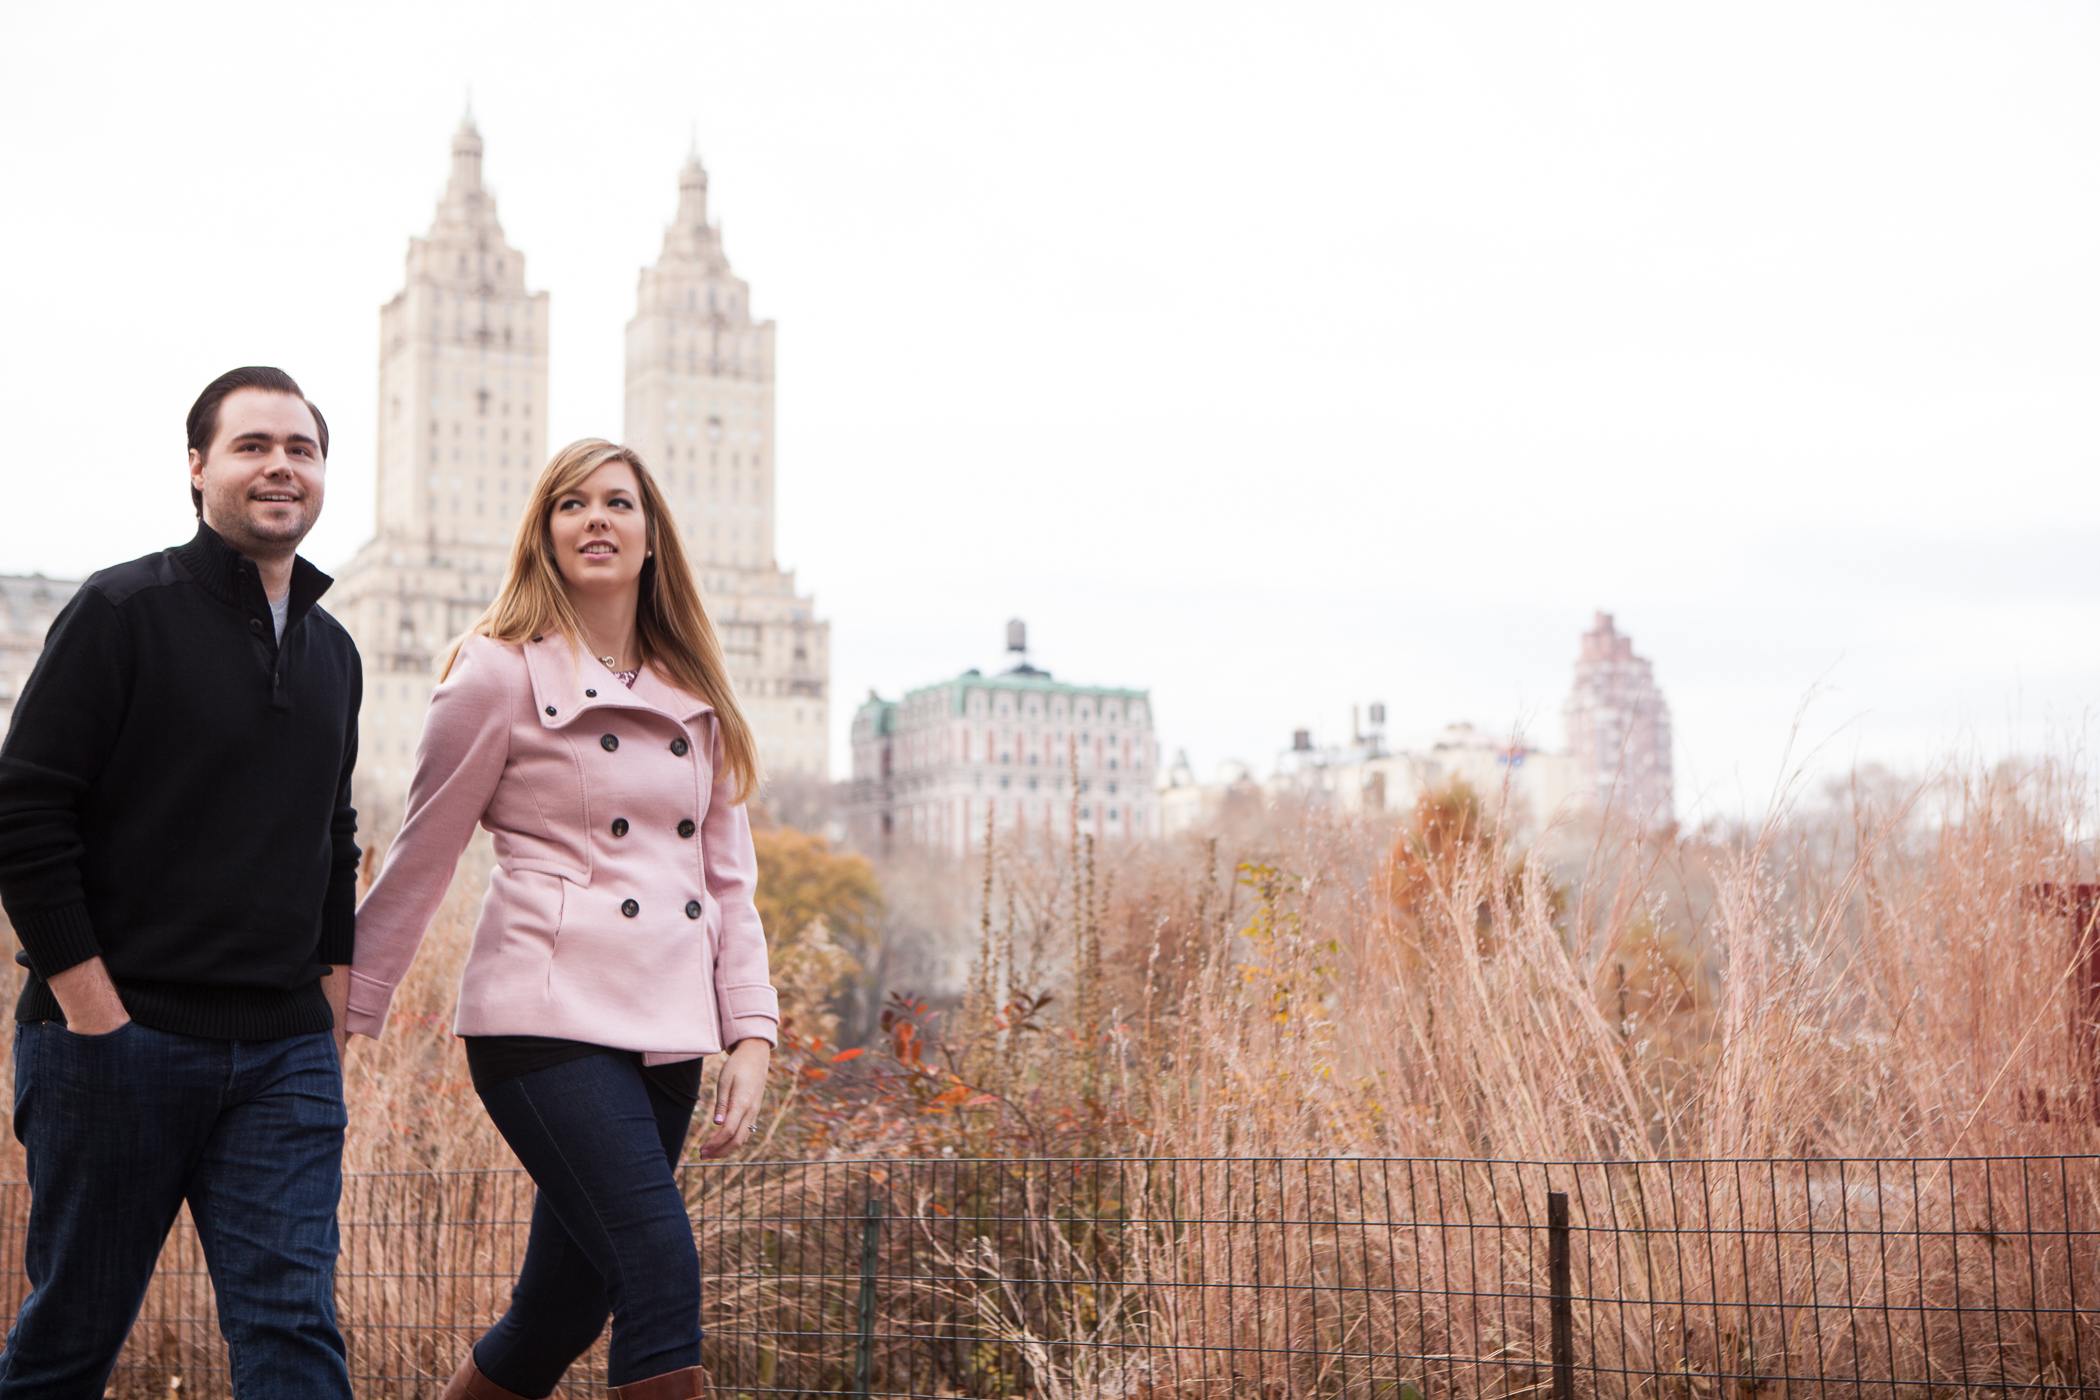
When Brandon and I were preparing for our New York trip, I knew I wanted to plan a photoshoot while we were there that just captured us taking in and loving the City and each other. We were lucky enough to book Sara Kerens, an incredible fashion photographer! You can check out more of her work HERE. I don’t think we are Sara’s typical clients (you know…models!!) and I just…
12 Comments
My Top 5 | March 2015

1 | VOGUE March 2015 (image via @ashleygreenwood) Who runs the world? Kaylor. Ha! Kidding. Kinda… This month’s VOGUE is a fun and inspiring read. Plus, nothing beats actually reading and flipping through a magazine. 2 | LOBS (image via Kensington Way) People are probably so sick of hearing about Lobs but I’m still so obsessed with them! I’ve always been a long hair girl but the look of a long lob is…
13 Comments